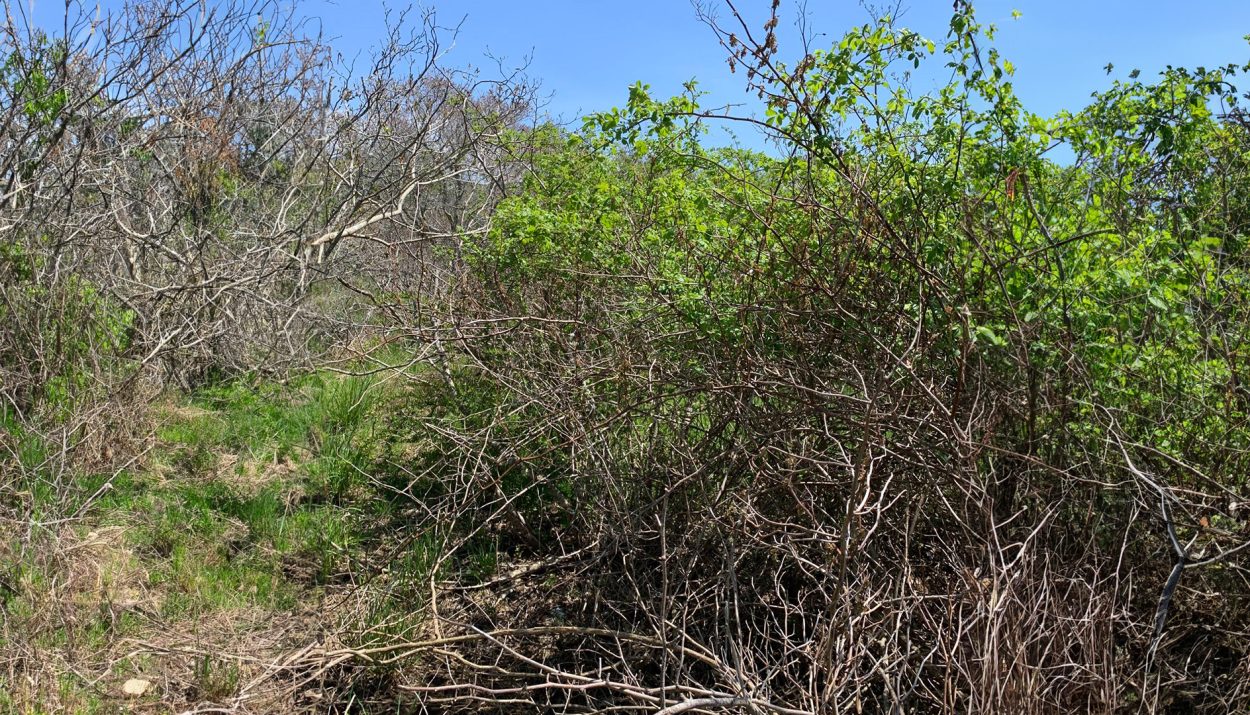
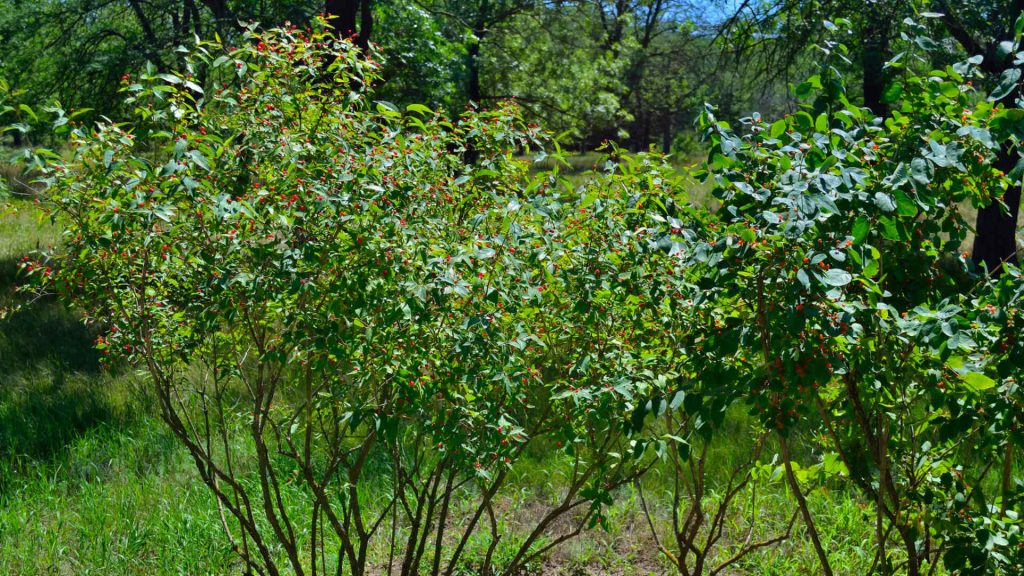
Anyone who has a wooded area in their backyard has likely encountered a plant called bush honeysuckle. This invasive species is characterized by its opposite leaf arrangement, white spring flowers along the stem, and pairs of red fruit in the fall. If you’re dealing with a bush honeysuckle infestation, don’t panic – you’re not alone!
Redditor Posts Transformation Photos
In 2022, a Redditor posted a question in the r/NativePlantGardening Subreddit. “What to replace bush honeysuckle with?” they asked – sharing a before, during, and after photo of the daunting removal process.
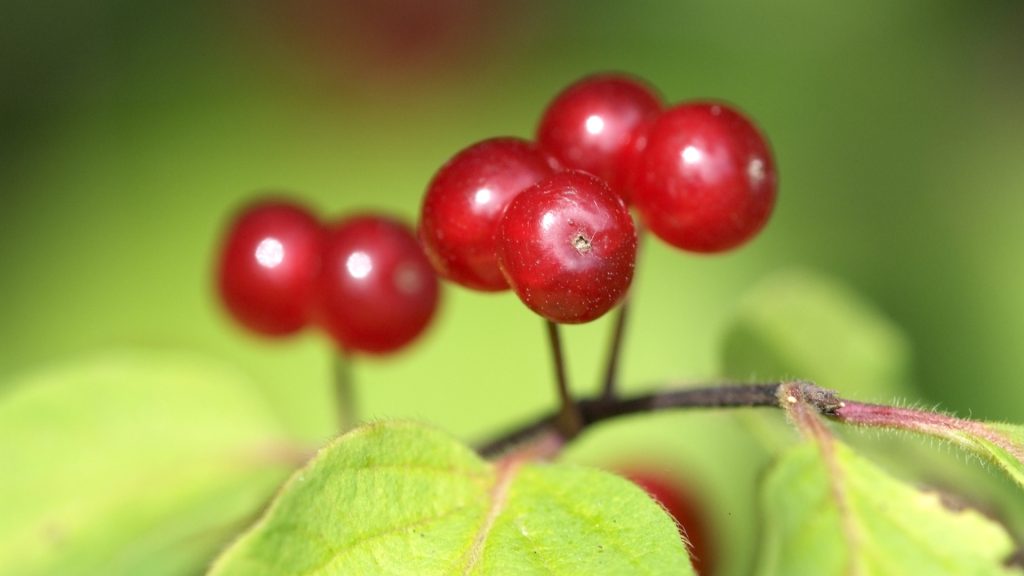
The three photos show just how invasive this plant can be when not maintained – which is exactly what happened here. The homeowners were distracted by life (it happens!) and didn’t realize how bad the situation got until it was too late.
3. Area Not Yet Cleared
“We apparently have been distracted the last number of years, I guess young kids and a global pandemic can do that, and while we were not paying attention bush honeysuckle has taken over the understory of our woods and a good portion of the fence line,” the Redditor wrote.
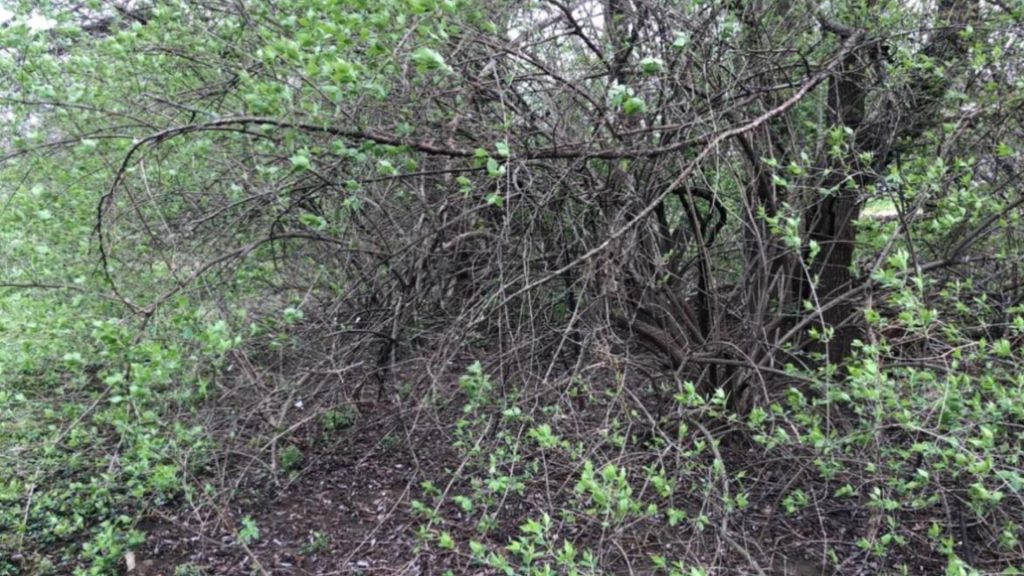
This first photo shows what the area looked like before they started tearing it out. If it looks like a tangled mess, that’s because it is one – just a bunch of thin twigs wound together with little green leaves poking out the ends (and red fruits, if in the fall).
2. Small Portion Cleared
“I’ve gotten pretty good at identifying it, the fact that it’s the only thing currently green helps, and will be pulling the roots I can. We are little hesitant to use herbicides as we have not done so on the property in the 16 years we’ve owned it,” the Redditor continued.
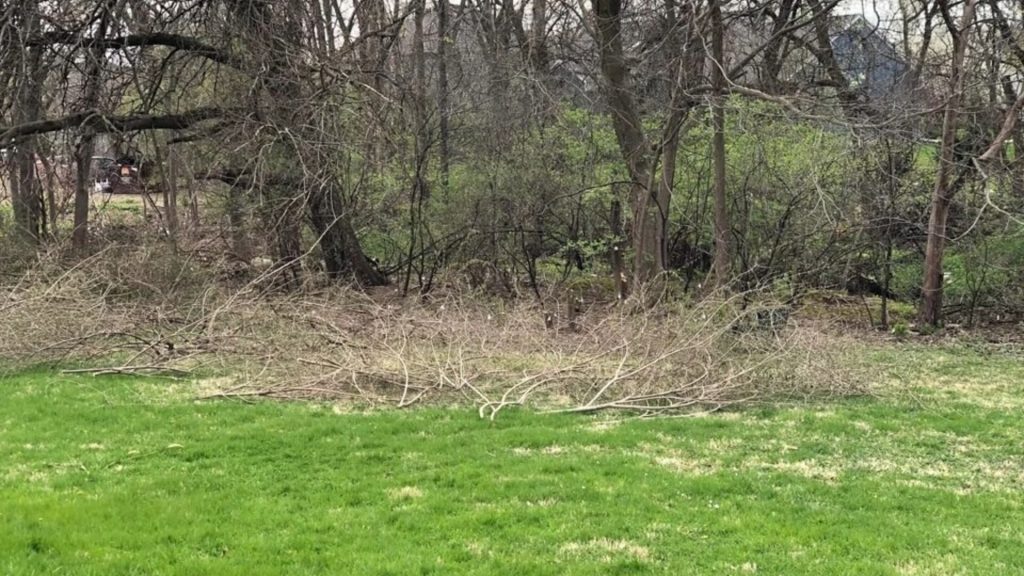
The second photo shows most of the bush honeysuckle cut down. Some of it is still lying on the ground, but you can start to see how much space it took up – and how much space they gained in the corner of their yard now that it’s gone.
1. Barren Landscape After Cleared
As an invasive species, bush honeysuckle essentially ‘suffocates’ the soil it grows in. Since it doesn’t allow room for other native plants to grow, it slowly depletes the soil of nutrients, which isn’t good for the surrounding ecosystem.
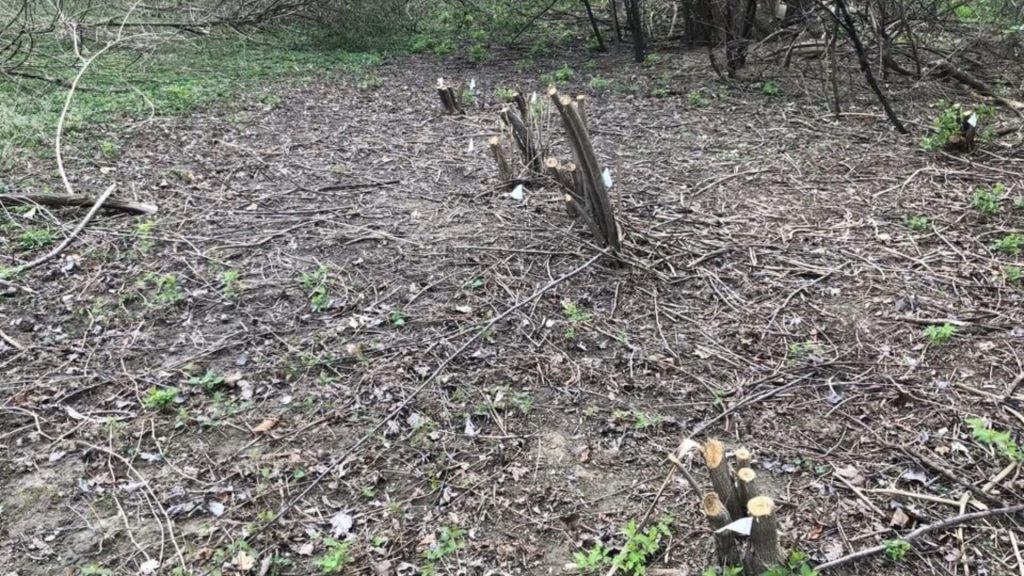
This is evident in the third photo, which shows several stumps sticking out of the ground and small twigs everywhere. It still needs to be cleaned up, but you can tell how ‘dead’ the ground looks – no grass, no color, just hard dirt.
How To Remove Bush Honeysuckle
The Redditor went on to ask what the best removal strategy was when dealing with a bush honeysuckle infestation. Should you replace the bush as you remove it, replace it once it’s completely removed, or remove it and let nature do its thing?
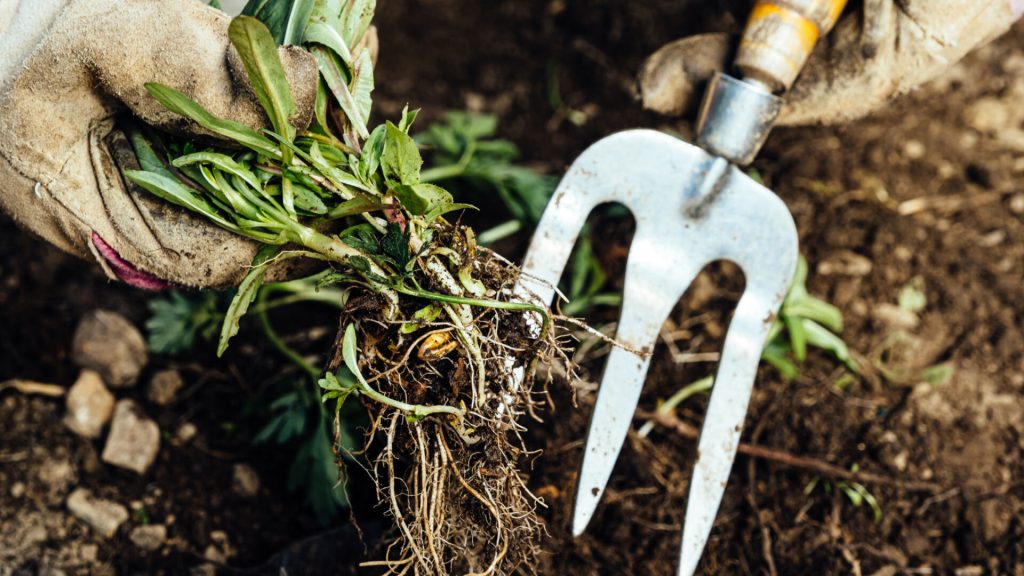
As far as removing it, there are five primary options to consider – and it’ll largely depend on how big the infestation is and how large the roots/stumps are. Some can be cut down and pulled out by hand, but others might require one of the below methods.
5. Mechanical Control
This involves using mechanical aids to give you the leverage needed to uproot a bush honeysuckle plant. Weed wrenches can be a huge help for roots that are too big to uproot by hand but still have a fairly shallow root.
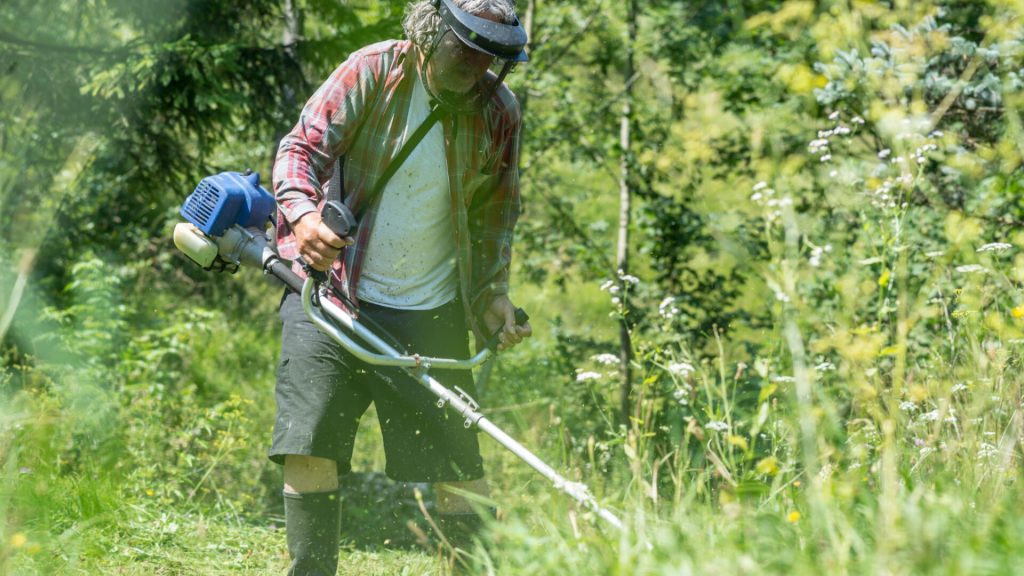
It basically works like a lever. You connect the weed wrench to the base of the plant and pull it down toward the ground. If you don’t plan on disposing of the root right away, try not to leave it on the ground – if you do, the plant could re-root itself.
4. Foliar Applications
Foliar control of bush honeysuckle involves the use of a chemical to gradually kill the plant over time. We recommend using this on honeysuckle bushes that are still green (not in the fall or winter) and are no taller than 5-6 feet.
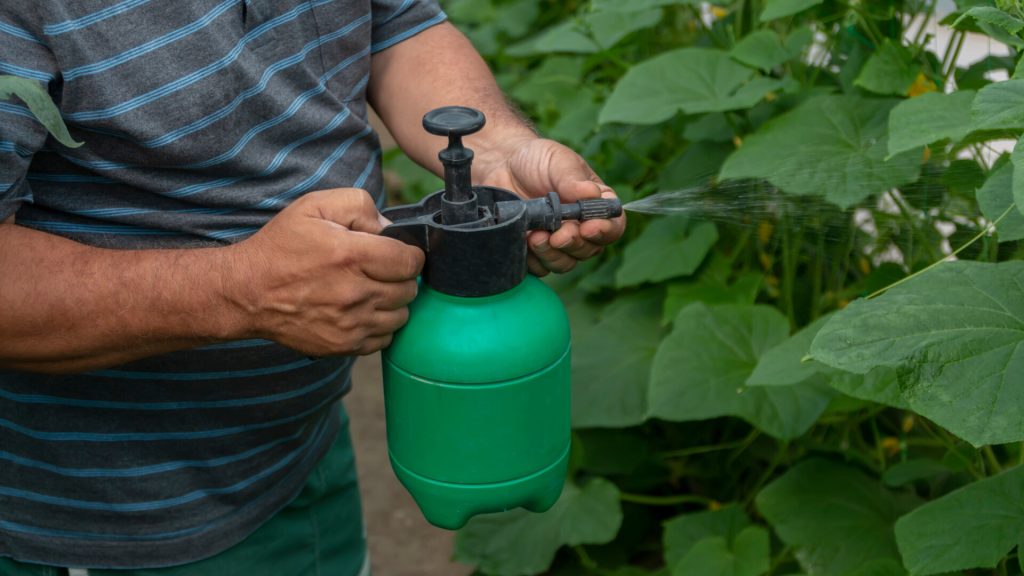
The idea is to cover the entire plant (leaves, branches, stump) with the herbicide. You don’t want to get it on any of the surrounding plants-and certainly don’t want to get it on yourself. It may take several weeks or months to kill the plant fully.
3. Cut Stump Applications
The cut stump application is best reserved for larger bush honeysuckle plants – generally those that are taller than five or six feet. The first step is to cut the plant down to its base root, exposing the stump out of the ground.
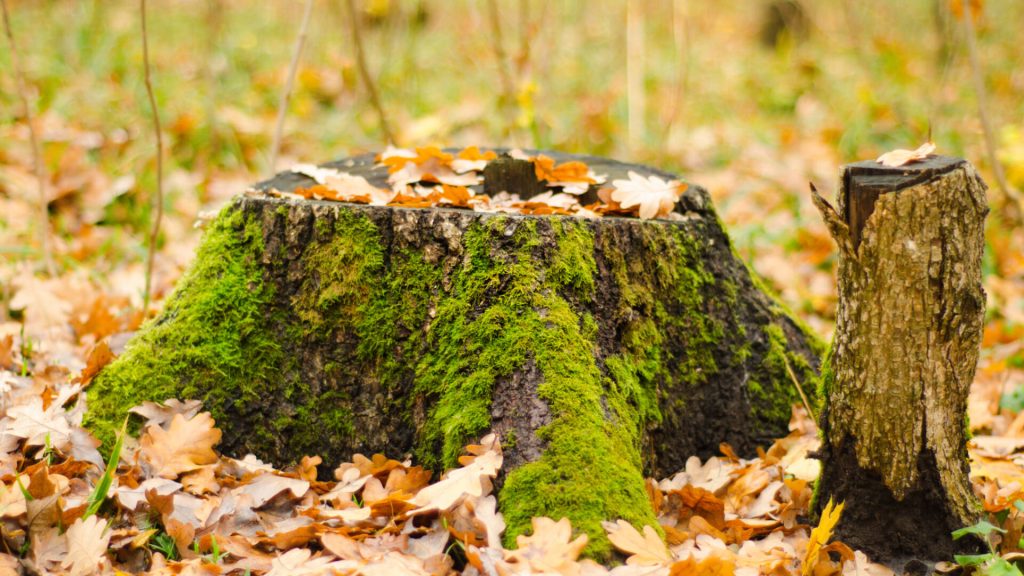
Instead of spraying the entirety of the plant, cut stump applications involve spraying the cut stump – this should occur no later than 15 minutes after cutting the plant. Only the outer part of the stump (the cambium) needs to be sprayed.
2. Basal Bark Applications
Basal bark treatment is another spray method that primarily involves the use of triclopyr ester or other ester-based applications. It’s best reserved for plants with a diameter at breast height of 6″ or less.
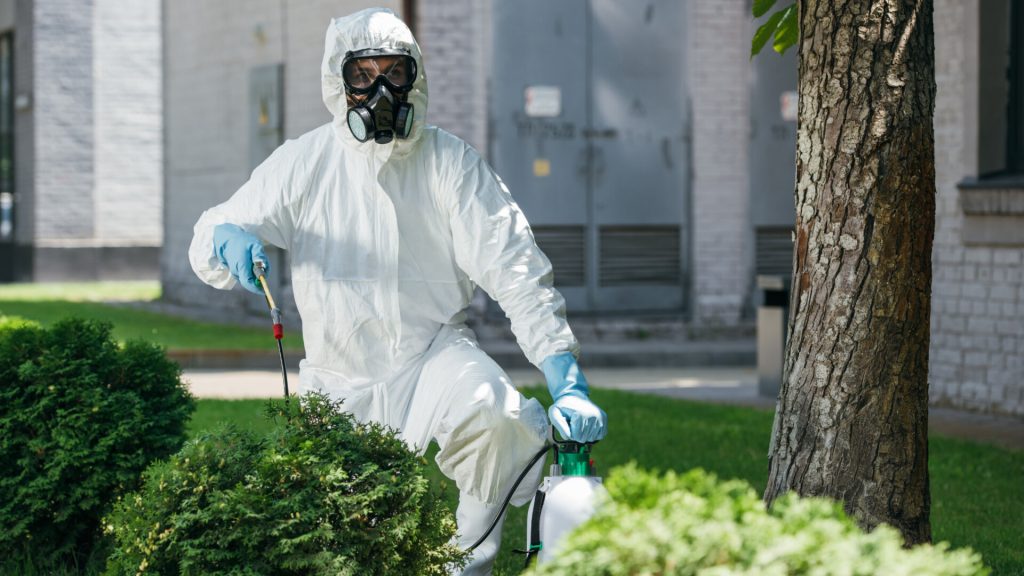
It’s one of the easier removal methods because it doesn’t require power tools, and you won’t need to cut anything down, but it does use a higher concentration of chemicals than other methods.
1. Injection Applications
The final removal method is injection, which is more of a direct application that ensures chemicals are delivered directly to the cambial layer under the bark.
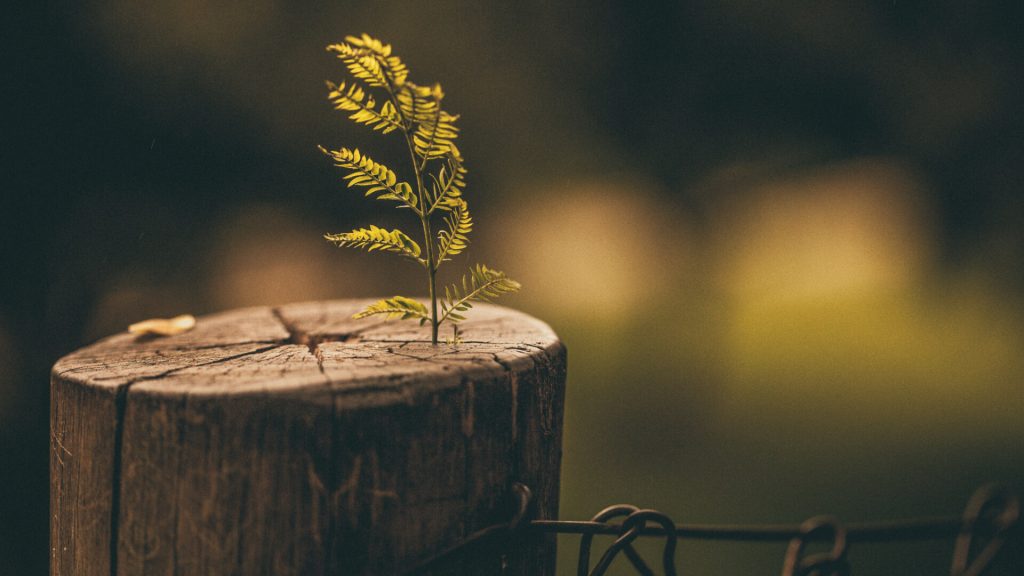
Many people prefer this method because it doesn’t involve cutting anything down. You might need to drill a hole into the stump or slice it open with a hatchet, but that’s it. Once the cambial layer is exposed, treat it with the concentrated chemical.
What To Do Once Bush Honeysuckle Is Removed
Now that the bush honeysuckle has been removed, it’s time to replace it. This is the most important part of the process because skipping it allows invasive species to grow back, bringing you right back to square one.
Of course, that begs the question – what type of plants should you replace it with? That answer largely depends on preference – do you want something that gives you privacy, or do you want something that you can show off to guests? Once you figure that out, start preparing the area.
3. Purchase A Soil Test
Before you start planting anything, purchase a soil test at your local hardware store. The Home Depot and Lowe’s usually have good stock available. At-home tests will tell you the pH, calcium, lime, gypsum, and potassium levels in your soil.
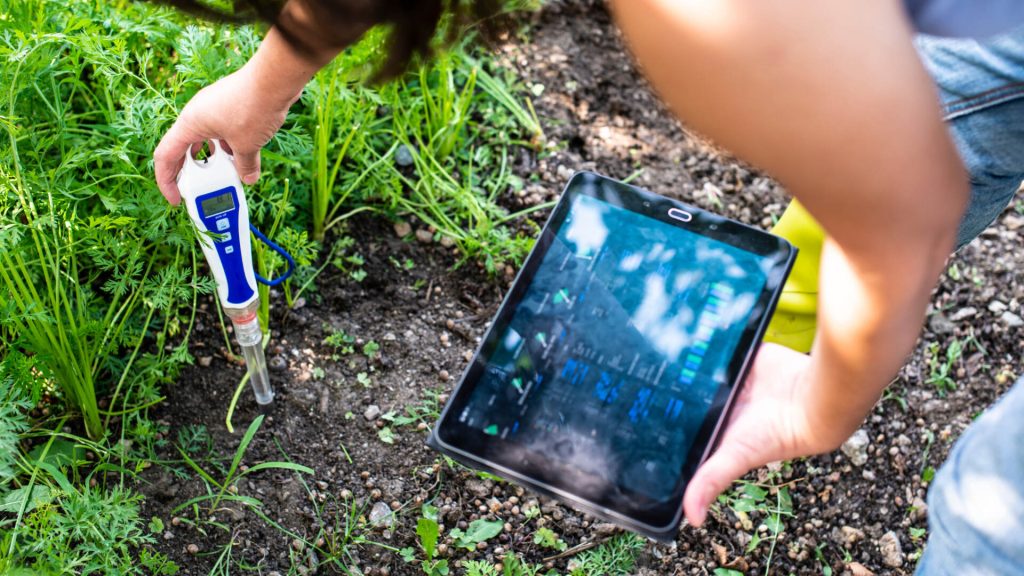
If you don’t trust your judgment, don’t worry – your local County Extension Service will test your soil for you. It’s a little more expensive than your at-home test, but it provides a more detailed description of what’s going on under your feet.
2. Soil Correction And Repair
Once you have a good idea of what your soil needs (and doesn’t need), you can begin the soil correction process. This involves cleaning, clearing, removing, mitigating, and/or remediating the soil you want your plants to grow in.
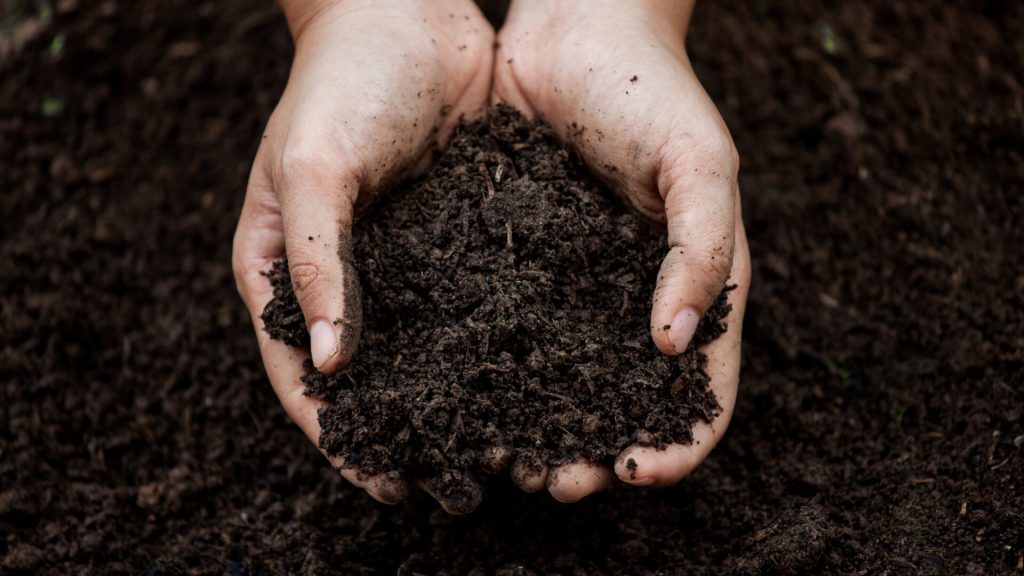
That could mean adding certain nutrients to the soil, mixing in new soil, or replacing the soil completely. Either way, it’s important to know that plants won’t grow in poor soil – so skipping the process won’t give you the results you’re looking for.
1. Plant Native, Non-Invasive Species
Alright, now that your soil is good to go, you can start planting those native, non-invasive species – effectively transforming a space that used to be overrun by a bush honeysuckle plant. This is a good day for your lawn, your yard, and your family!
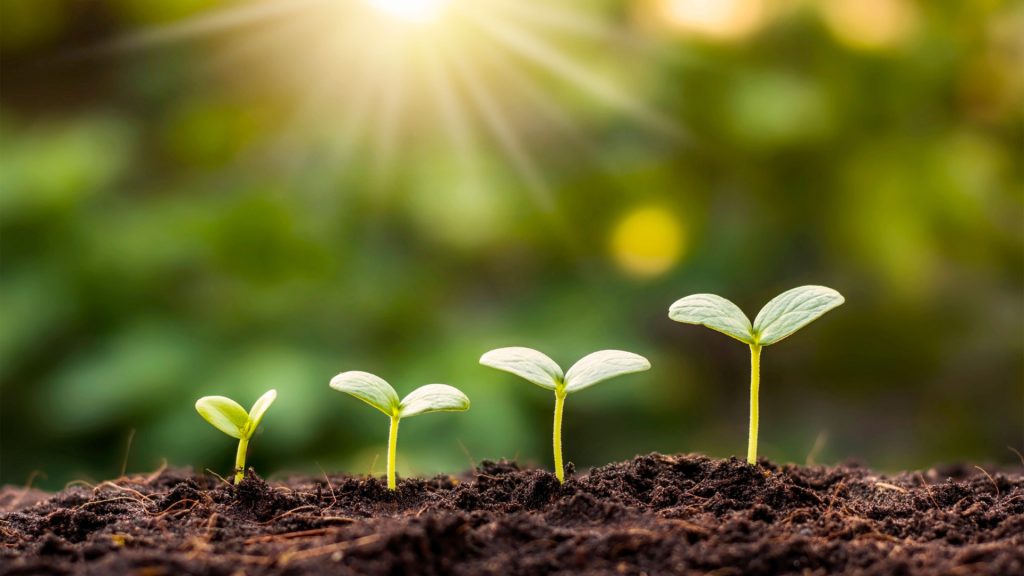
Some of the most popular plants to replace bush honeysuckle are the Eastern redbud, black-eyed Susan, spicebush, butterfly weed, and Virginia creeper. You can also replace the area with a garden and fill it with flowers, fruits, vegetables, herbs, and/or spices.

